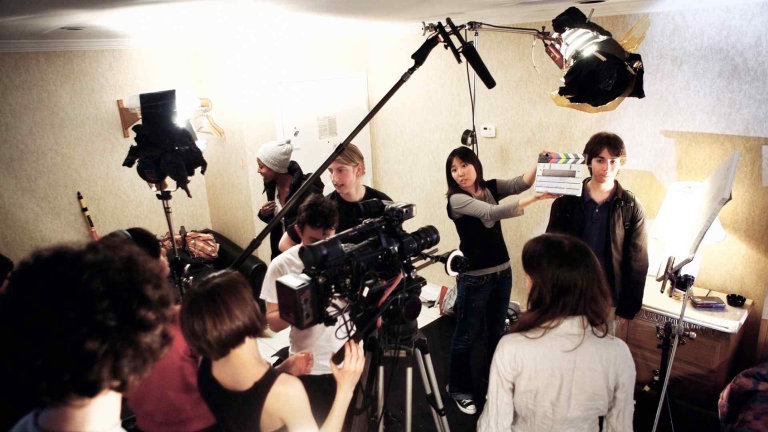
Lighting is one of the most powerful storytelling tools in film. It shapes mood, reveals emotion, and directs attention. For independent filmmakers working with small budgets, mastering a few clever lighting techniques can make your film look cinematic without expensive gear.
1. UNDERSTAND THE PURPOSE OF LIGHTING
Lighting is not just about visibility. It is about atmosphere and intent. It tells the audience how to feel about a scene.
- Soft, warm lighting feels romantic or nostalgic.
- Cold, harsh lighting adds tension or discomfort.
- Low lighting with shadows can create mystery or fear.
Define the emotional goal of each scene, then choose lighting that supports it.
2. USE NATURAL LIGHT TO YOUR ADVANTAGE
The sun is the best free light source when planned carefully.
- Shoot during golden hour for warm, flattering tones.
- Avoid harsh midday sun unless a high-contrast look is desired.
- Use reflectors such as a white sheet or foam board to lift shadows.
- Scout locations to understand how natural light moves through the space.
3. CREATE DIY LIGHT SOURCES
You can shape light without studio fixtures.
- Household lamps with daylight bulbs can be repositioned for creative effects.
- LED panels or hardware work lights provide strong output when diffused.
- Clamp lights are inexpensive and versatile for tight spaces.
- Soften harsh light with parchment paper or a white T-shirt as diffusion.
4. USE THE THREE-POINT LIGHTING TECHNIQUE
A professional look can be achieved with three basic roles, even if improvised.
- Key light: Primary light that defines the subject.
- Fill light: Reduces shadows on the opposite side.
- Back light: Separates the subject from the background.
With limited gear, simulate fill by bouncing light off walls or reflectors.
5. CONTROL COLOR TEMPERATURE
Different sources have different color temperatures measured in Kelvin (K).
- Daylight is around 5600K and appears bluish-white.
- Tungsten bulbs are around 3200K and appear warm orange.
- Avoid mixed temperatures that cause unwanted color casts. Match sources or use gels/filters.
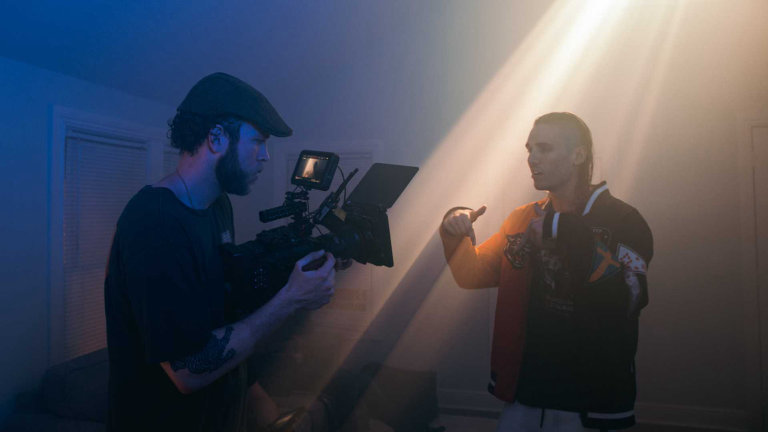
6. USE SHADOWS CREATIVELY
Darkness can add depth and drama when used intentionally.
- Partially light faces to introduce emotional tension.
- Cast patterns with blinds, branches, or textured objects.
- For thrillers or intimate scenes, less light can create more intrigue.
7. BOUNCE AND DIFFUSE
Hard light creates unflattering shadows. Soften and spread it.
- Bounce light off white walls, foam boards, or reflectors.
- Diffuse with thin fabric, frosted plastic, or diffusion paper.
- Soft light is ideal for close-ups and natural skin tones.
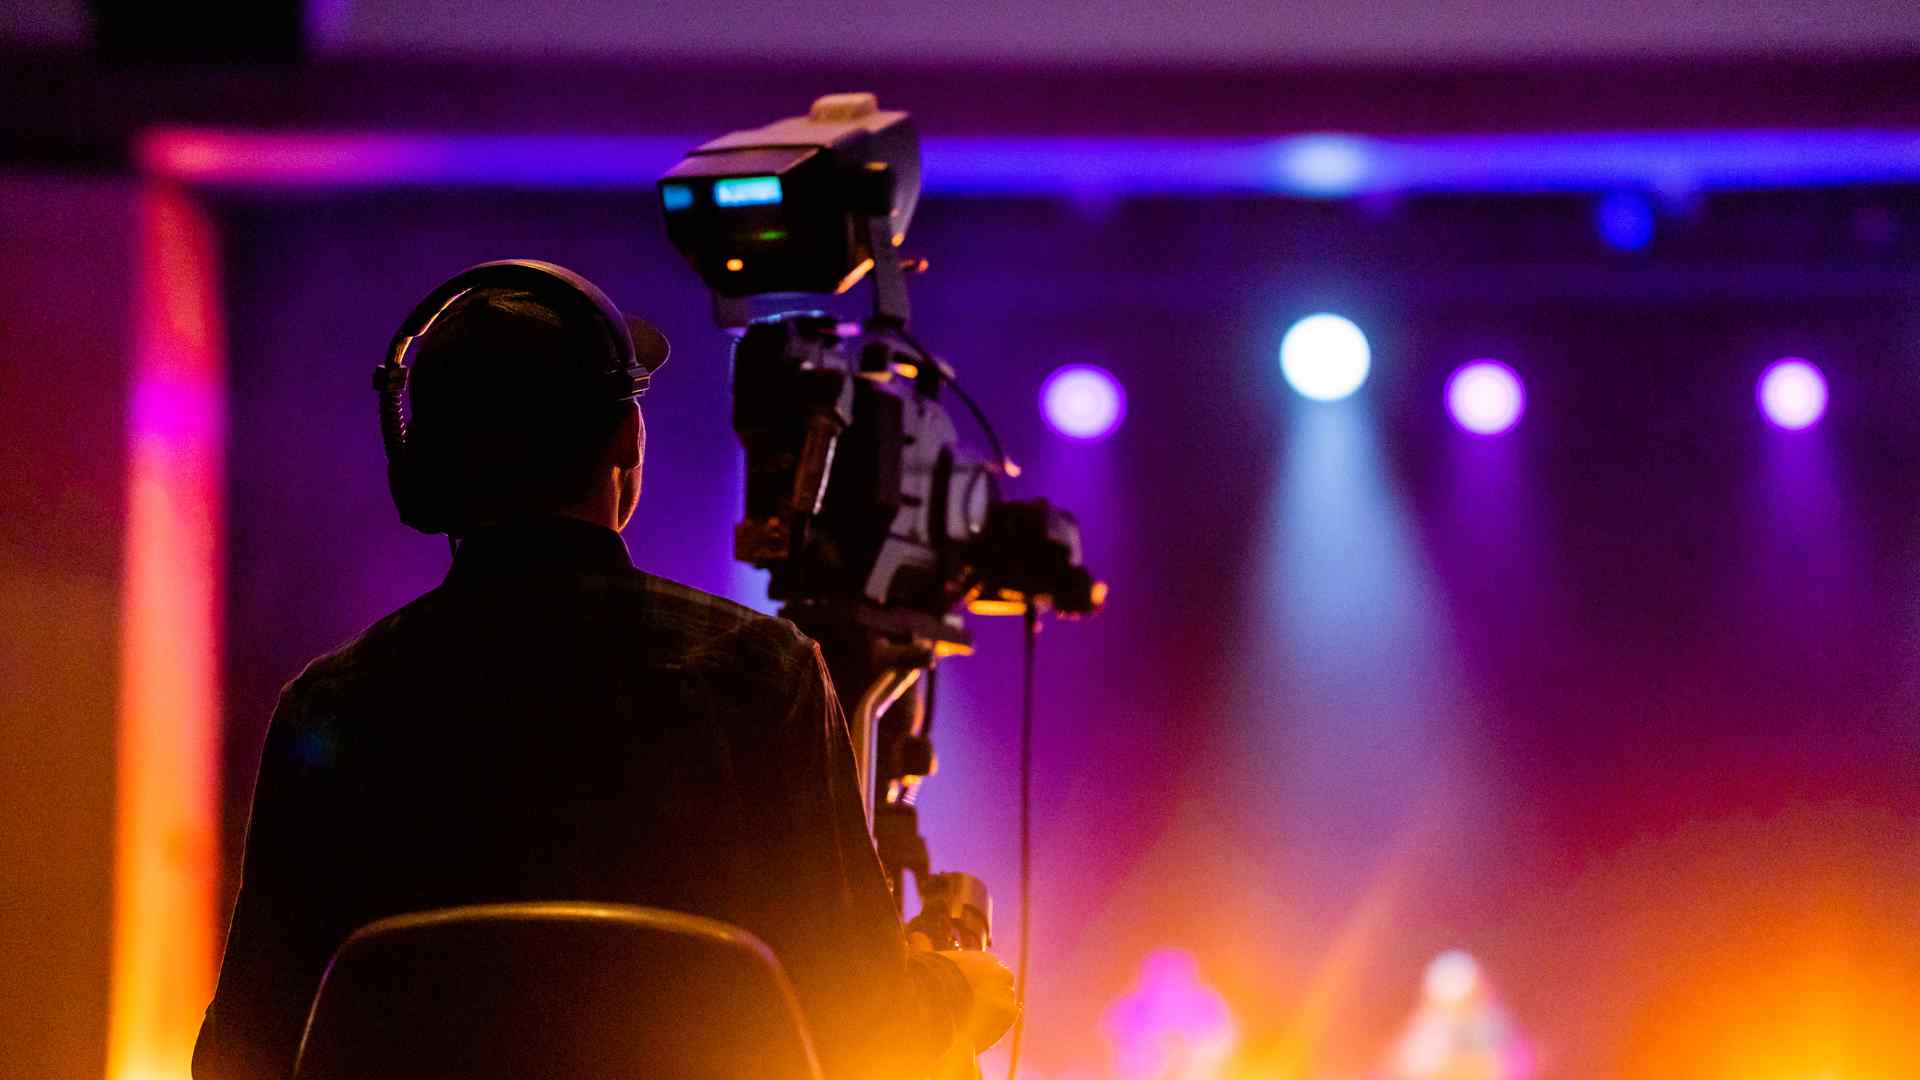
8. USE COLOR GELS FOR MOOD
Color can shift tone instantly when applied with intention.
- Blue suggests coldness, isolation, or night.
- Red evokes passion, danger, or chaos.
- Green adds an eerie or surreal feel.
- Inexpensive gels or transparent colored materials can work for subtle effects.
9. BALANCE PRACTICAL AND ARTISTIC CHOICES
Practical lights are visible sources within the scene such as lamps or candles. Use them to motivate your setup and enhance realism.
- Hide small LEDs near practicals to boost brightness while keeping the look natural.
- Let practicals justify the direction and quality of your key and fill.
10. TEST AND ADJUST
Lighting reads differently through the lens. Test before principal photography.
- Record short clips and review on a calibrated monitor or laptop.
- Adjust brightness, shadow density, color temperature, and angles.
- Use each setup as an opportunity to learn how your tools behave.